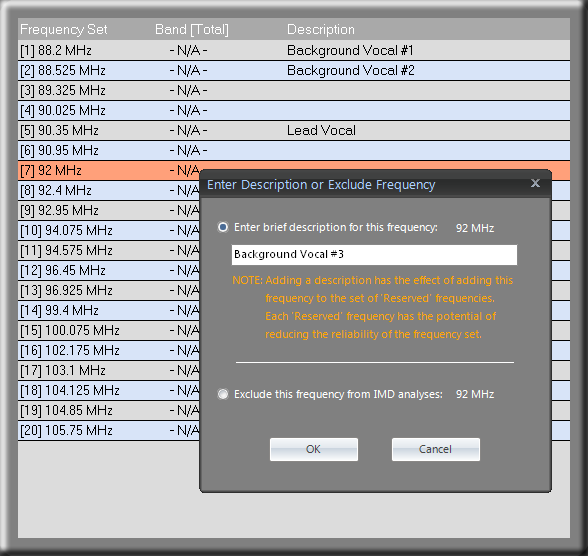
Pro Audio White Space Finder allows you to add a label or description to any frequency within the frequency set. When you left-click on a frequency in the results window then a DialogBox appears that allows you to enter some text. When you are finished then press the 'OK' button. If you choose to create a PDF report the description you just entered will also be included. Alternatively, you can use this DialogBox to exclude a frequency from all future intermodulation analyses.
Adding a description serves another important purpose -- it designates that frequency as a "reserved" frequency. A reserved frequency is one that will always be included in the frequency set that results from an intermodulation analysis.
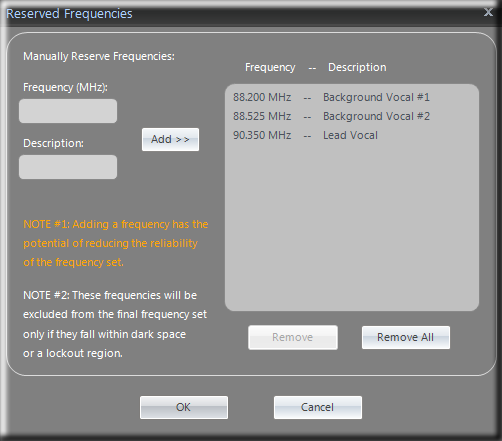
Reserved frequencies provides a means for a user to enter one or more frequencies into the coordination for those instances where a particular device is considered mandatory. For example, facilities or events often have a pool of existing equipment to which channels will need to be added. Also guest systems using preconfigured channels may have to be integrated and coordinated with resident systems.
There are two ways to add Reserved frequencies -- from the main menu select Intermodulation / Reserved Frequencies, or from the Results window left-click on a frequency and add a description (as explained above). When you use the latter method and then go to Intermodulation / Reserved Frequencies, you should see the frequencies have been added.
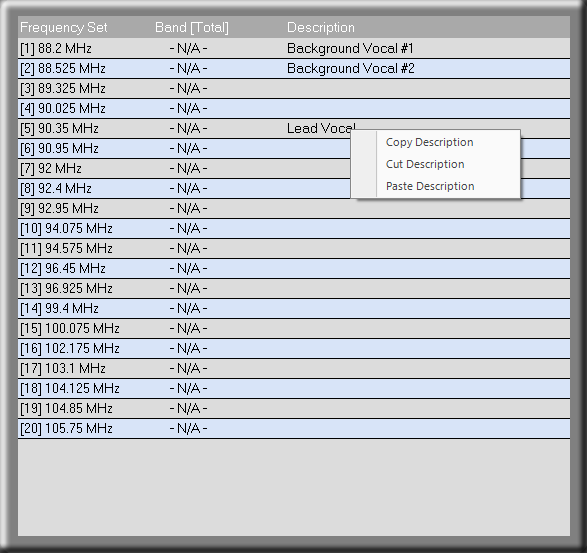
To copy, cut or paste a description, select a frequency in the results window and right-click. If a description is 'cut', then the corresponding frequency will be removed from the reserved frequencies. Similarly, if a description is 'pasted', then the corresponding frequency will be added as a reserved frequency.